Whether you’re a surfing newbie or professional, there’s probably going to come a time when you need to know how to fix surfboard dings. The good news? This guide will answer all your surfboard repair questions and give step-by-step directions for fixing your board.

From hitting other surfboards to falling prey to the reef, there’s always the chance for accidents on the water. As long as the damage is minor and you have your repair kit stocked and handy, you should be able to fix it on your own.
Regardless of what type of surfboard you use, how good you are at surfing, or what kind of damage you’re dealing with, knowing how to repair surfboard dings is an essential skill. Keep reading to learn how you can master it!
Can a Surfboard Be Repaired?
Absolutely! And, the best part is if it’s a minor ding, you should be able to do it yourself. You’ll want to assess the damage to make sure it’s nothing major, and usually, it isn’t.
It’s essential to repair your surfboard before using it again. If you need a quick temporary solution, you can use surf wax and duct tape.
Ding putty is another convenient way to do a quick surfboard repair. This dough-like mixture can cure in wet and dry conditions, a must for surf trips. It’s also easy to apply by simply pinching it and kneading it in until it is smoothed over the dinged area.
While the quick fixes are great options, you’ll want to do a more reliable surfboard ding repair as soon as possible. This will prevents water from entering damaged surfboards, which can cause further damage.

Will Ding Repair Make My Board Look Bad?
No, it won’t! Some surfer newbies think that surfboard ding repairs mess up the aesthetic of your board, especially if you have a new surfboard. However, dings and cracks are unavoidable.
Any seasoned surfer will tell you that it won’t affect your board’s performance if you know how to repair a surfboard ding properly. And, it even gives your board a personality of its own!
How to Repair a Surfboard Ding
With the right materials and easy-to-follow steps, you can have your board fixed in no time.
A surfboard repair kit should consist of several items, which you should be able to find at any surf shop. You can also find an already-made ding repair kit like this one to save money.

Here are the items you should have handy for repairing dings and cracks:
- Resin
- Q cell mixture (optional)
- Hardener
- Sandpaper
- Mixing cup
- Wooden spoon
- Fiberglass sheets
- Cloth cover
Keep these items handy for when you need them, then follow these steps:
1. Clean your board.
Clean your board by using a wax comb, then remove excess surf wax with your wax remover.
Then, pinch the repair area to see if there’s water trapped inside your surfboard. If there is, allow to dry for a few days. It’s important that you not skip this step as you won’t be able to effectively fix the board until it’s completely dry.
2. Color match (optional).
Most people repair dings without color matching. However, if you want to color match, you can add resin-tint to your filler mixture. You may have to mix colors to get the right shade.
3. Apply resin.
Once your board is dry and clean, thoroughly apply resin to the damaged area. You can use a wooden stick to do this.
Tip: You can use Q Cell if you want to thicken the resin.
We suggest you do this step in the shade, making sure you spread the resin over the entire area and press out all the air bubbles.
If you have a significant ding, you may need to cut a piece of fiberglass cloth and place it over the resin to ensure the exposed area of your board has optimal coverage. To do this, you’ll cut a large patch of fiberglass cloth and press it onto the resin layer.
4. Cure the resin.
Once your board is covered with resin, cover it with plastic to help the resin perfectly shape the board. Then, you’ll expose your surfboard ding repair to sunlight to allow the resin to harden faster.
Tip: If you notice any gaps, you can always fill them in with extra drops of resin.
Drying time may take 8 hours or overnight. If it’s in sunlight, it won’t take as much time.
5. Sand it.
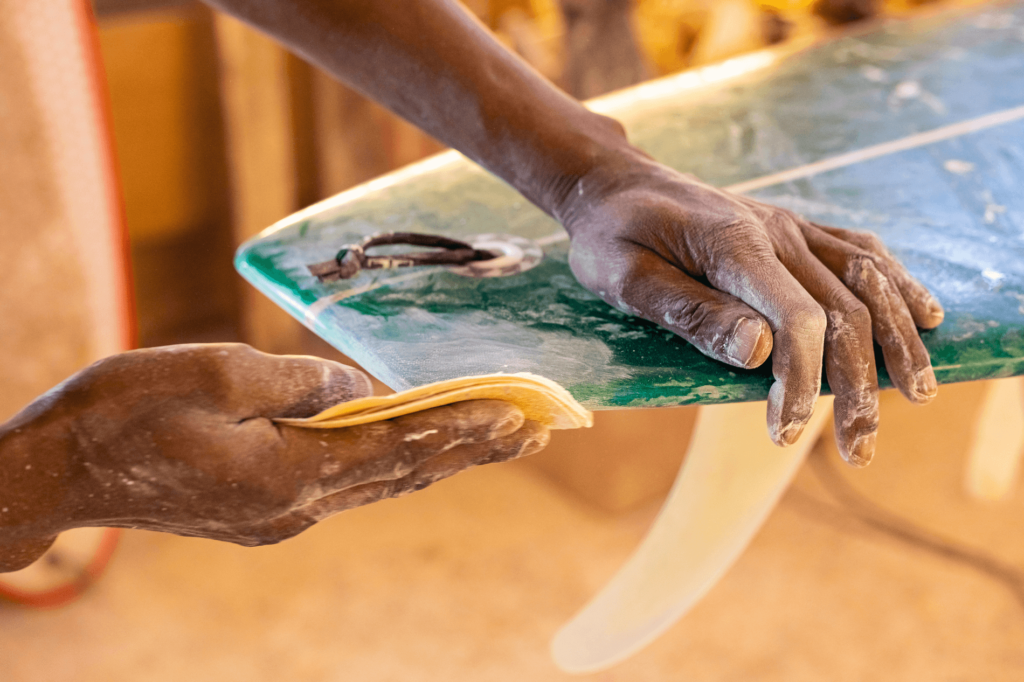
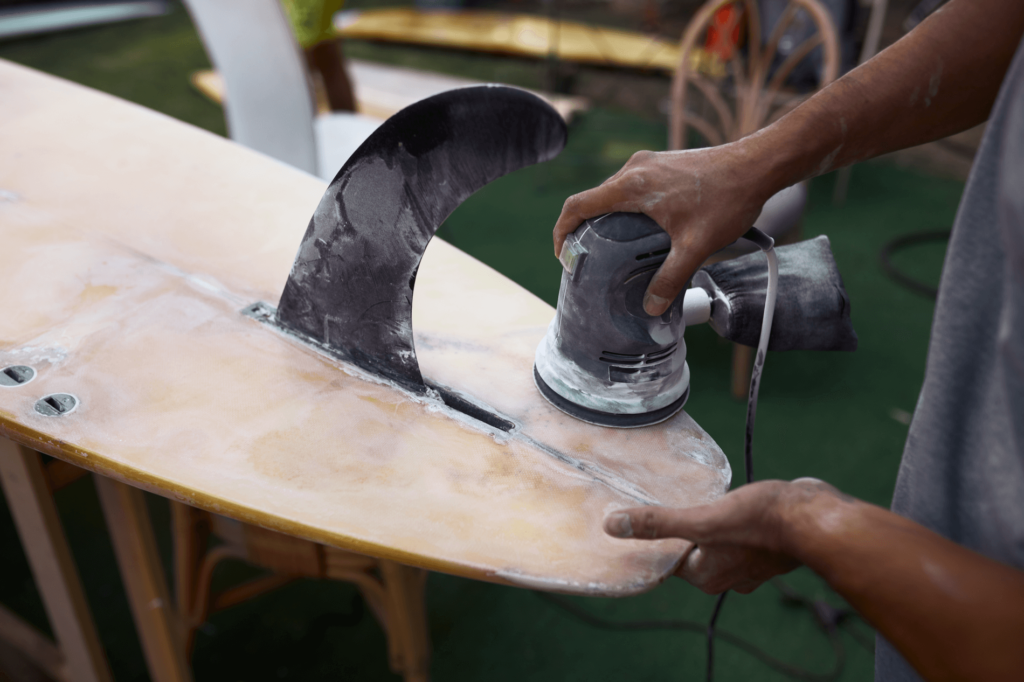
After you wait for the repair dry, it’s time to sand over it with light-grit sandpaper. Wet sanding is best to avoid scratching. Wet sanding resin should result in a smooth finish similar to the way it was before the damage.

Surfboard Repair Final Thoughts
We hope this guide has you feeling confident about handling surfboard damage on your own! Knowing how to handle a surfboard ding repair is almost like a rite of passage for surfers.
Damaging your board is bound to happen at some point, but having a professional make the repair can be costly and time-consuming. Keep things easy by having your ding repair kit and this step-by-step guide handy.


